Thursday 28 June 2018

4. Turntable Stand - Tripod - Completed

Finally its done and I'm very happy with it ;-D

Some thoughts on making it:-
1. Print time for the stand tripod about 9 hour + depending on your settings.
2. The leg holder is about 1.5 hours, depending on your settings.
3. Sanding the nuts on the front and back helps getting them to fit (for me) sanding two edges also helped.
4. The other pieces, like both Turntables, are documented in previous blog posts.

Stl files for this build :-
https://www.dropbox.com/s/t9vxr56qkfgxcd9/Turntable_Stand_Leg%20Clamp.zip?dl=0

Link to the blog post about the Turntable builds 1 of 7
http://lukethier.blogspot.com/2018/05/desinging-and-making-turntable-for.html
Files for the Turntable themselves:-
https://www.dropbox.com/s/z26afzy1mpyvbql/2018_Turntable.zip?dl=0


Disassembled for storage.


Assembled


;-D Pretty pleased with myself (Pictures of me laying in bed with my arm around it smoking a cigarette are nothing but vicious rumors)


With the legs withdrawn in halfway so as to make the area needed by the base less


Next to the inspiration for this build


The start of some inception


Wednesday 27 June 2018

3. Turntable Stand - Tripod


------------------------------------------------------------------------------------------------------------------
https://www.dropbox.com/s/t9vxr56qkfgxcd9/Turntable_Stand_Leg%20Clamp.zip?dl=0


------------------------------------------------------------------------------------------------------------------

I've been sharpening the bolts for holding everything in place.

It isn't strictly necessary, but I'm using plain bolts without any handle or mean to easily turn them if you know what I mean.

There were some M6 bolts that had a wing nut fixed to the head that would have been perfect for these but alas my local hardware store only stocked the 50mm long ones and I didn't want them protruding out too much so I stuck with 25mm long bolts.

So if you can get you hands on them or find something similar then even better, you could cut them down to length I guess.
-----------------------------------------------------------------------------------------------------------------
Hardware Bom
5 of M6 x 25mm bolts
5 of M6 x Nuts

1 x 2M x 22mm dowel cut to 3 x 400mm, 1 x 800mm
or an old broom handle cut to suit just make everything shorter if necessary

You shouldn't need much more than 20/30% infill (My tests used 10%) and they are fine, but knock yourself out.


-----------------------------------------------------------------------------------------------------------------

Put the nut on the bolt prior to grinding a sharp point onto the bolt. This will keep it steady in the drill chuck, but most of all it will re cut the thread when you remove the nut allowing you get the nut back on afterwards.


My drill and Aldi Dremel tool that I used for this.


Tada!!


I use a diamond cut off wheel for this but the normal discs that come with these tools are fine for this.


It doesn't need to be really sharp, the idea is to get it to penetrate the timber easier. Making using your hand to tighten it enough, rather than having to crank on it with a wrench of any description.


The nut took some effort to remove by hand but this was it; just re-cutting the thread all that grinding closed off and the nut now goes on and off by hand without any trouble.


Tuesday 26 June 2018

2. Turntable Stand - Tripod

The new stand with all the sizes and adjustments is printing as I write this.

I took some video of it with the old version but with the upright pole cut down to 800mm in height. Each leg is still 400mm long. The pole diameter (to save you going back to look it up) is 22mm.

Excuse the water marks on the carpet, I had my water bottle on the stand and was going to show off but it backfired and it all ended up in tears ;-D


About 150mm of the dowel is within the stand housing.


I've made the bottom of the stand flat just so it has a good chance of sticking to the print surface. I did have them level with the print surface and not flat or cut off like this but the print didn't stick so well to the surface and was prone to coming off.


Ran out of filament and couldn't rescue the print in time. Had a neighbour in need.

So I've been making something to hold the legs for storage or transport.

Hopefully it will sit on the main pole and hold the legs against the body. I think it needs to be taller though, so doing some test prints.

You could always print 2 of them I suppose, I had intended for there to be only 1, but 2 would also work. :-)


Ok I finished the leg holder, but its a little lose now as the first one was too tight.

I adjusted it and also made it thicker and I think had I just made it thicker (The walls that is) It wouldn't have shrunk so much and fitted a lot better.

I'm not sure if I should add a nut and bolt like on the legs, to hold it in position. I did model it in but excluded it from the print as I had my doubts about it.

I was hoping to make it the same sized bolt as the legs to save buying more stuff, but it might be a little large.


Monday 25 June 2018

1. Turntable Stand - Tripod

I thought it only natural that I designed a stand for the Turntable so here is my first (and hopefully only) attempt at it.


I have repaired a music stand in the past, about 3 years ago, using the hardware taken from the broken one. After some really fancy design work and some real headaches trying to print it, I realised that 3d printing and beautiful design weren't going to be as compatible or go hand in hand as I had once hoped.

So the reason this has the flat top is so I could print it flipped upside down which worked really well.


The interesting thing about a design that folds up is that it relies on some mechanical stablising and assistance to get it to work. It needs more components as well.

So...........I decided to NOT make it collapsible through folding.

You will be able to collapse it down into something that takes up less storage space though.


These are the Fusion360 screen shots so I hope it is clear about how it will work.

The centre pole is the same size that the Turntable takes as are the legs. It uses one piece of dowel 2.4m long x 22mm diameter.


 $15.79 Aud so about 50c in the states and Europe ;-D

The M6 I had here already but might cost about $3-$10 including nuts.

This size is very common here and many many broom handles both metal and wood are this thickness (I checked with some vernier calipers while I was there in the hardware store)


So I intend that the centre post be somewhere around 900mm to 1200mm long probably more like 900 though and the 3 legs to be 400mm long. They will be held by some M6 bolts and nuts. There is provision for some captive nuts in the design.


A 9 hour test print is now underway so I'll know if my allowances for the pole's potential inaccuracies in thickness during manufacturing are anywhere near enough, some time this evening.


Ok my first modification :-) I made the wall thickness for the legs a little thinner as I think I might have gotten a little carried away and over built it.


Now a little thinned down it should even speed up printing. I reduced the infill for my test print to help speed things up, along with increasing the layer height and have knocked down the print time by an hour or so.

-------------------------------------------------------------------------------------------------------------

Well that took about 12 hours :-) and it works really well..............Woo Hoo. I need to make the nut housings a little bigger so it's easier to fit them.

The pole in these pics hasnt been shortened yet and is way too tall. I'll cut it down in the morning. I'll act out painting with a spray can and my trusty old W77 spray gun to see where it is most comfortable and use that to set the height.

I'll make the changes and post the free files soon.


Saturday 23 June 2018

7. Turntable finished...............for the moment

I glued up the 90 degree turntable this morning and fitted it to the music stand.


This one doesn't have the screws to help turn it, to show the nubs being used instead. It could be that the screws might be an hindrance for unforeseen reasons so I'm just showing that they are still useful as is.


Balancing upside down on the music stand so you can see the bottom better.


The 90.675 degree version with the screws fitted.


Download both versions and try it for yourself. The fusion360 files are also included so you can modify them to suit yourself.


Wednesday 20 June 2018

6. Turntable 90 degrees angle test

Wow so happy with the angle on this.


I'm still printing the rest of these so I can test how it all fits together. I'm sanding each edge before the glue up.


Getting ready for two quarters to be glued together.


Clamps to hold everything flat while the glue dries.


Even though the pieces were at 90 degrees it still meant that after each quarter was glued into a half I needed to sand each long edge flat as they still don't sit completely flat against each other.


Oh the humanity! lol

It wasn't that bad. I use Aluminium Oxide sandpaper stuck to a sheet of glass. Mainly because I use it for woodworking and its all I have, apart from the wet and dry for sanding my paint finishes.


Tuesday 19 June 2018

5. More Turntable updates

I've now made versions of these to allow for shrinkage of the pla

I added roughly 0.675 Degrees to the 90 degrees to allow for the shrinkage of the pla.
So the angle is 90.675 on one lot and the other is 90.0 degrees exactly for filament that does not seem to shrink.

I'm in Australia and used some https://cocoonproducts.com.au/product-category/3dfilament/ pla for my first tests and THIS (Grey) SHRANK.

For my second iteration I used some https://3dfillies.com/ PLA+ and this stuff didnt. I also admit to being a real fan boy of this stuff and think it's fantastic. This (Silver) DID NOT SHRINK

So I hope one of these files helps you.

The best thing to do is print 1 corner and then put a "Set Square" on it and see if it is 90 degrees. If less than 90 degrees then print the file without a suffix of _90
Which one to print first is going to be up to you, I only just now discovered this little gem and am now having to reprint in 3dfillies PLA+.

I have included the fusion360 files so you can adjust to suit your own situation....................so you're on your own from here. ;-D

--------------------------------------------------------------------------------------------------------------------

This text above now comes in the zip file as a txt file for your information but I felt I needed to add some more information to this as just having both these files, the 90 degree one and the 90.675 degree one, doesn't necessarily guarantee you'll end up with 4 quarters that line up exactly.

As it's winter here and keeping my place warm while I print can be a little problematic at times.

It seems all my filament is subject to shrinkage at different rates depending on the room temperature at the time.

I'm still experimenting but just be aware you really do need to print one and check for square before committing one way or another.

The following picture is the print where I discovered that one filament was not shrinking and the 90.675 was now overcompensating for the shrinkage..............................so I sanded it for ages with some course sandpaper stuck to a sheet of glass I recycled from an old set of bathroom scales.

I don't have the time to help you customize things but I include all the stl and fusion360 files for you for free with no conditions, so knock yourself out have a go at it and good luck.


So much sanding :-(


Before clean up.
Some light sanding and glue "squeeze out" being cleaned up. As an experiment I used a new to me, glue that foams and expands to fill gaps for this, so a lot of clean up, but worth it I think.


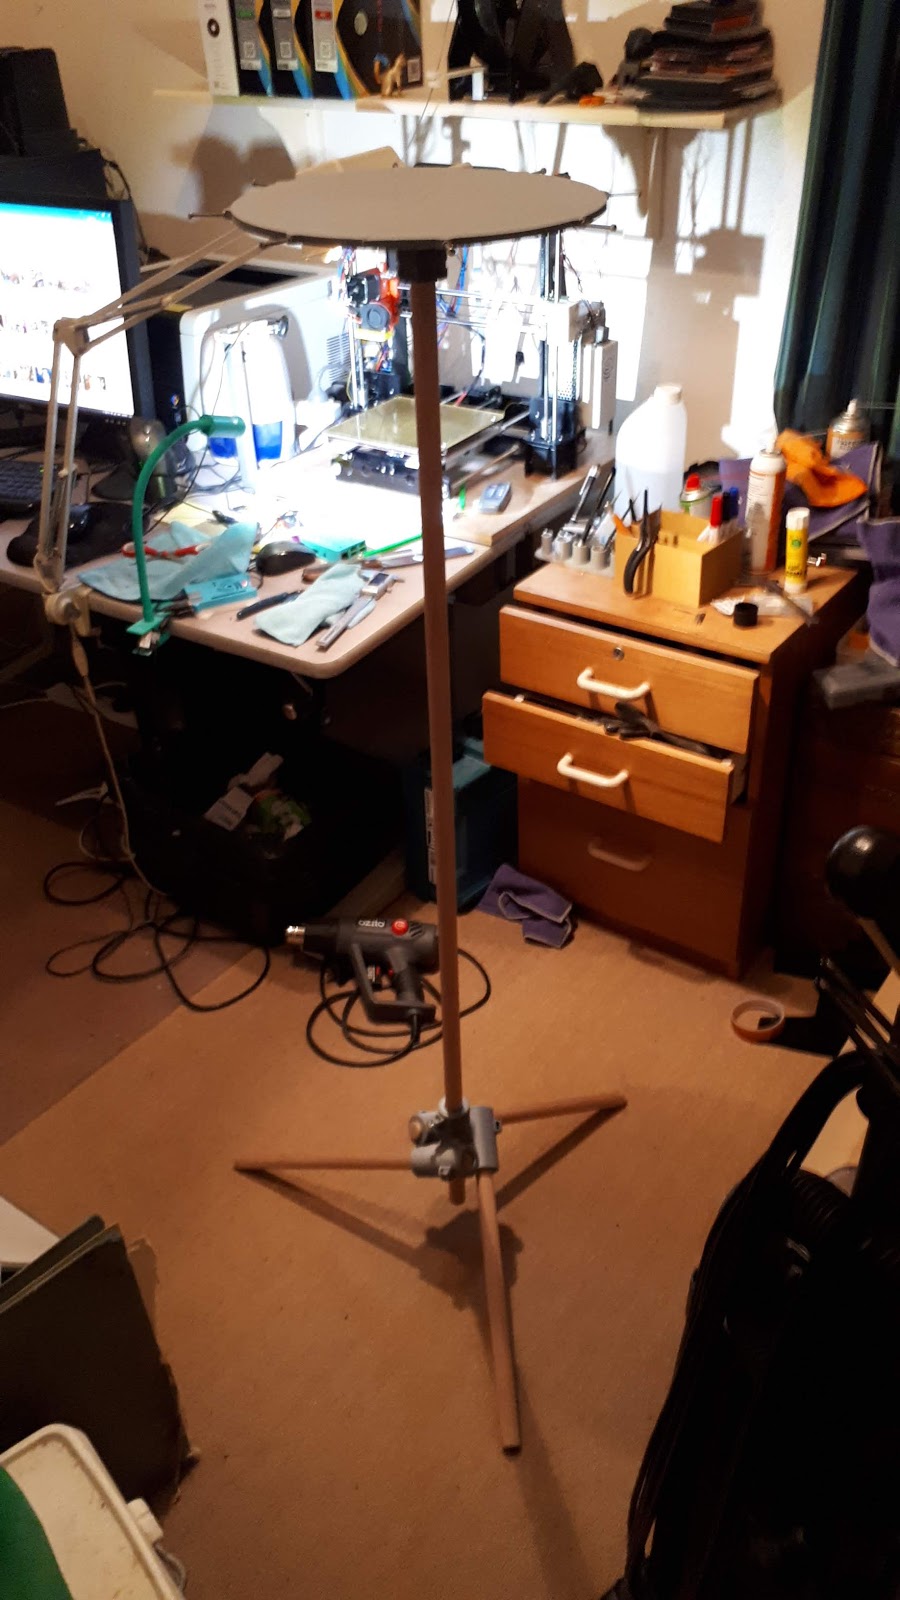
Some more of the glue squeeze out underneath and testing on the old music stand to make sure all that sanding didn't compromise things at all. All good, it spins nicely.


A light coat of some "Acrylic lacquer grey primer" so I got it looking a little nicer. It will be covered in paint soon enough so wasn't strictly necessary :-)
Then some strategic lighting.......and presto, advertising like quality (Hiding most of the imperfections)  lol