Saturday 28 February 2015

Cartridge Heater Build

I found this old hand rail from a pool for sale at the local tips recycle area for $5.00au


Cutting it to length


Boy that took a while phew!


I picked up some aluminium foil and I'm rolling it on to some 12mm dowel to see if this works


In the end I just scrunched it up and hammered it down 


Mmmmmm I'm not so sure about this but I'll update you tomorrow when I drill a hole through all this aluminium for the heater to be fitted.


I picked up some Teflon tape the plumbing variety to wrap around the pipe which will be sandwiched between the hole I drill into some MDF hopefully this will prevent the mdf from burning. It's rated to 250 Degrees Celsius.


Thursday 19 February 2015

Heater cartridge housing

I enclosed the Temperature controller in a housing and tested it all again using different settings and it seems to work well. I did however burn my fingers again and they're hurting like hell. The thing about these heaters is they don't really conduct heat through the air that well and the only way I could think of to test them without a thermometer is to quickly touch it lol.

ps I didn't test it on the computer this was just for the photo, I did the right thing and stood barefoot in some water while the electronics balance precariously on top of an open tin of acetone. :-P


Wednesday 18 February 2015

Side bending

A cartridge heater arrived today for my side bender.

Cartridge heater from ebay

The design is from this video


Wish me luck :-)

I've researched plenty of home made bending jigs and this design suits my needs until I can afford a silicone heating blanket. Then I'll also need to build the bending form to suit similar to this


This is going to be my next build along with mounting my router in a table


I wired it all together and burnt myself then quickly unplugged it lol


Later I'll test the Temperature controller after I get an oven thermometer to check it.


Sunday 15 February 2015

Post Livingstone build

I finished up the Livingstone today. I got more strings after breaking another one!
Filed the nut a little more to allow more drop off for the strings and re adjusted the action. All I need to do now is correct the intonation a little more.

I also forgot to say how pleasantly surprised I was that the 
electronics worked first time. 
One step forward two steps back usually but this time woo hoo

Oh yeah I actually ordered some new glasses today after my eye test
they'll be about 2 weeks. 

The things I learned along the way (in no particular order)

Document things a little more thoroughly, more pictures and video.
oh and remove some stuff off my laptop so I can re load some
video editing software. There's no room!!!!! aaaarrrrrrrrr

Glue the nut down when your'e done, lol I'd forgotten to put 
a couple of dots of super glue to hold the nut in position.

When filling holes go straight to the automotive bono type 
of filler on MDF as the wood based ones turn out to be porous
and show up forever if using Automotive Acrylic Lacquer.

Take the time to set up jigs to do even the smallest of jobs 
that require accuracy and precision. Hole drilling steep
angles for example!

The Chinese nut files are at best mediocre. They seem to be 
sized at some arbitrary sizes even though they are numbered
1 to 6 for each string. I'll measure the Chinese files to see if they
will cover Ukulele string gauges and if not I'm going to get a variety of sizes 
either from one of the Luthier supply places in Au or US ie Stew Mac, LMI or http://luthierssupplies.com.au/ or Jewelers files 

Since I'll be making uke's from here on in I'll decide on the 
file gauges at a later date but a 1.0 mm and 0.7 mm or 0.8
and 0.6 or if money suddenly falls from the sky 
I'll get all of them.

I have one solid body electric uke to build then onto acoustic
ukuleles. This will take a few more tools and money for the acoustics so it will
take some time before you see anything other than electric ukes.

 Next


Saturday 14 February 2015

Finished the Livingstone!

Sorry about the blurry pics I could have sworn that they were fine
Note to self, appointment with optometrist on Monday for new glasses


A quick demo of my Aldi Livingstone Guitar swapped over to be left handed. Broke a string setting it up. I finished up cutting the nut and setting it up, as the intonation turned out to be very close I haven't adjusted it yet. Sorry that the sound is so low I had this on a bug wireless setup feeding it to my little practice amp some distance away. If I get the time I'll make a new video as soon as I get another D String. All things considered I'm pretty happy with how this turned out.


Sorry about the water mark I didn't want to install my editing 
package just to do a little trim


Broken D string


Thought I'd roll them up and wound a reasonable amount
on the post but the string still broke where it then became too short do'h

Nice nuts

Ooohh Shiny 


Friday 13 February 2015

Clear coating the headstock

Here's the satin clear I got at Eckersleys in Woden. As you can see it's fine for covering both oils and acrylics. About $14.00 aud 


First coat you can see just how rough painting the stencil turned out. I was going to airbrush it (which I probably should have :-D) but it was so small, just cleaning the airbrush and not wishing to run acrylic paint through it, made me just use a little pin striping dagger liner paint brush I had laying around as I couldn't find anything else :-) (Hey its a brush with hair ok!)


2nd coat. I'm not sure how many coats I'll use, but the intention was to sand with 1200 wet and dry after about 3 coats then give it one or two more coats. Since I can't make a decision I'll surprise you later lol. 


EGO BEING SATISFIED WEEEEEEEEE!

Finishing the nut and stringing up as well as set up tomorrow, barring any excuses.


Thursday 12 February 2015

Logo on the Head Stock

Ok I chose some Regular Slinky's with the 10 gauge E for the Guitar


Here' my logo in Potatoshop shrunk down to size


I bought some removable and durable self adhesive labels to print the logo onto so I could then stick it in position to then cut out the logo and then airbrush on the head stock which has been sanded of all the clear that was on it. It turned out to be pretty small and I'm going to need a steady hand and some serious magnification to be able to see properly. The labels seem to be made of either a plastic or foil sandwiched with paper on the surface and regular adhesive on the back. 


So tiny, the dithering has been exacerbated so following the lines will be a little more guesswork than I was hoping for. I found some nice satin clear at an art supply shop this afternoon meant for covering finished art and it will work nicely for this as well. I didn't buy it yet as I'm trying to save some money this week. So if the cutting out goes well and the acrylic sticks and looks good I'll get the clear coat spray. 


Cut out the logo. I'm not sure I'm happy with it's position but WTF it's cut now :-)


Painted and stencil removed. Not too bad at all. Phew!!!


Monday 9 February 2015

Awe "Nuts"

Some pictures of the nut making in progress.
I super glued the old right handed plastic nut to a bone blank that had been dimensioned to rough size.

Old glued to new bone blamk


New on the right

New on the left

Hard to see but I've roughed in the slots with the nut files


Through my magnifying light


I broke my glasses recently so I had to resort to my old pair so I ended up using my magnifying light and my magnifying head set lol

I can't do any more than the rough shaping until I get the strings on Friday so probably wont get around to finishing on Saturday.
I'll need the strings to set the height of the action at the nut and need to do all that at the same time that I'm finishing the shaping.


Wednesday 4 February 2015

The El Cheapo Livingstone re-wiring and assembly

Started to wire things up which meant fitting the bridge so the earth wire could be squashed under it. I also had a spare black pickup surround lying around so fitted it as well. It didn't have one originally. 
I'll move the pickup to be fitted to the black plate as at the moment it is screwed directly into the body. This way I'll be more easily able to adjust its height from the strings.


I had some 10 mm and 12 mm screws so I swapped the chrome ones for the black (Just because I could)


Fitted volume pot


Fitted volume knob and lead jack as well


Neck being fitted


Tadaaaaaa!!!!


Getting a feel for my left handed childrens guitar. The chamfer on this side didn't exist before as a right handed guitar it was only necessary on the other side. Not too shabby even if I say so myself. (just don't look tooo close)


Took a photo just because I could :-)


From the top. Grubby finger prints everywhere!!!!


Again


Fitted the the strap buttons. Bloody screw broke in the the body aaaarrrrrrrrr but another pilot hole right next to it made sure it got covered over by the button phew.


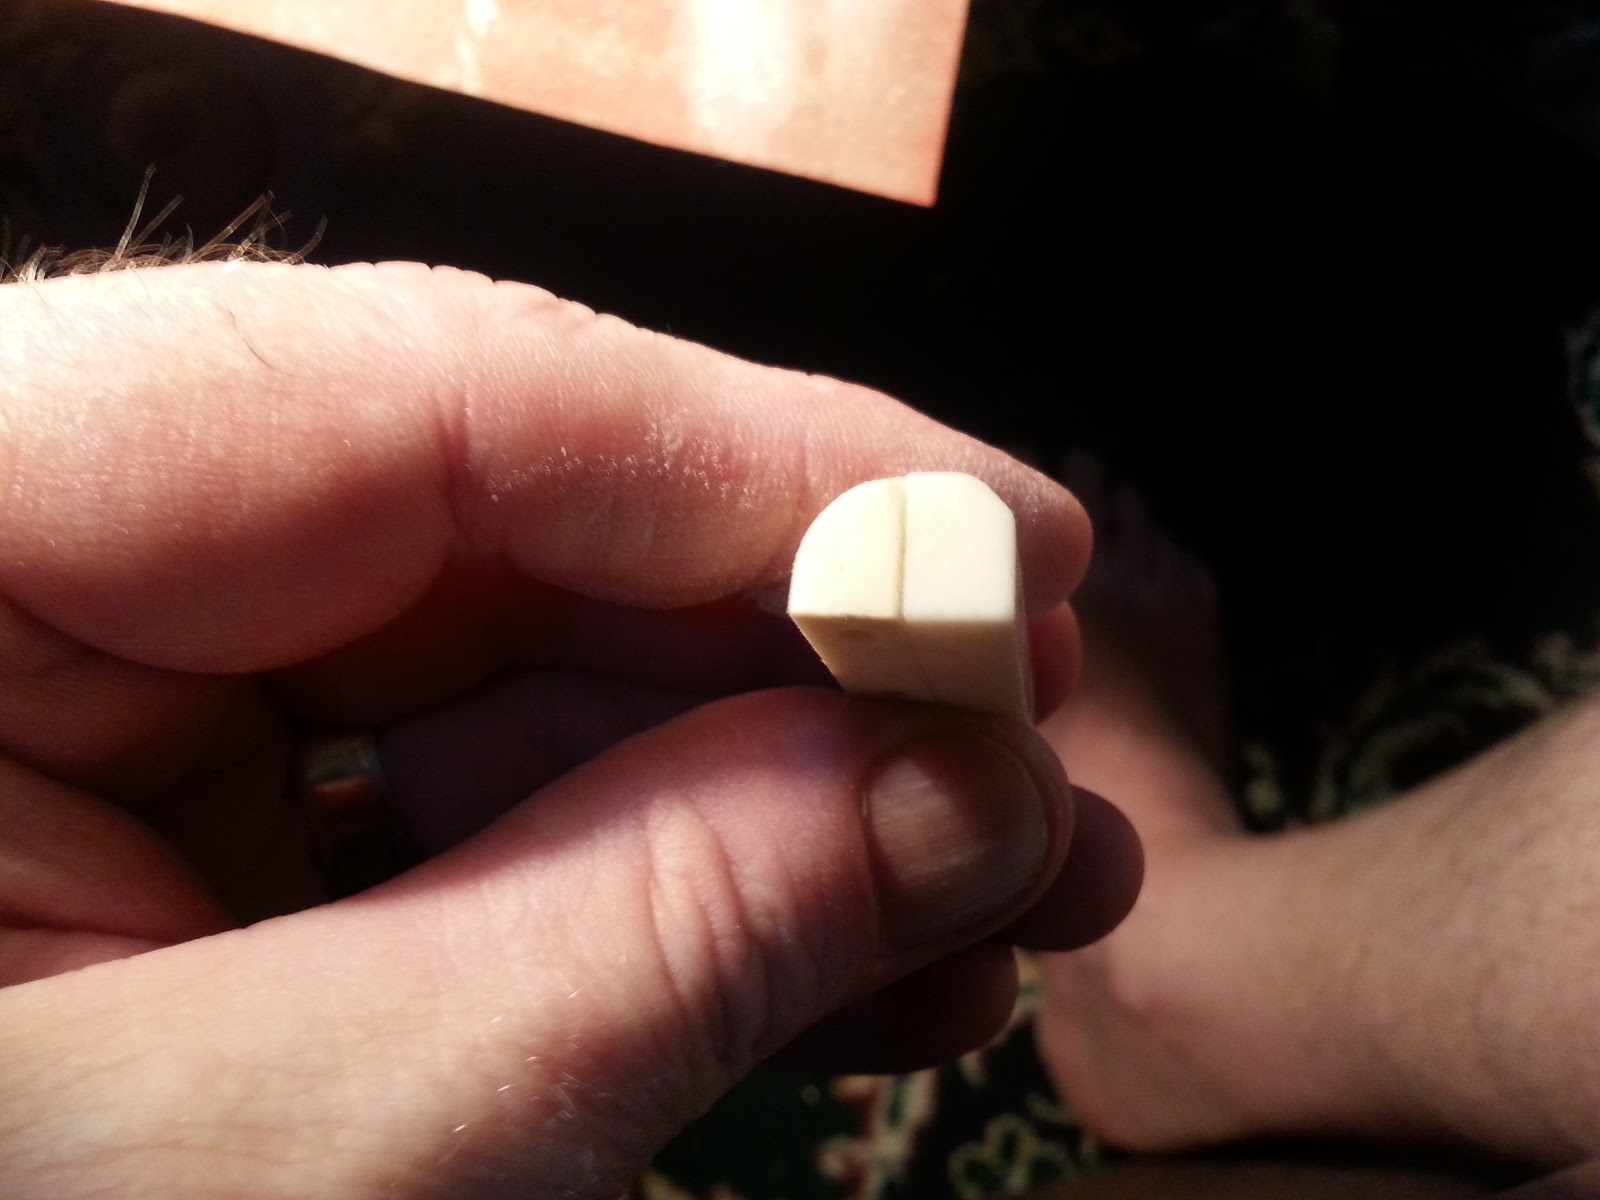
So only the nut to go before the aggravating setting up stage. I'll finish the nut in the next couple of days as I've already cut it to rough size already.

Setting it up will have to wait until next Friday the 13th DANANAAAAAAA!!!! when I can afford to get some strings (insert "I'm so poor" joke here). I'll wait until then to test the pickup to make sure I wired it up correctly. I've left some untidy long wires in the pot cavity, so if I have to, I can re-do it and burn my new paint when I find out it doesn't work, but at least I can do it comfortably with nice long wires.